 Golf Course Review by: Bill Satterfield
Rankings:
The Takeaway: Grade A+
Quick Facts
Designer: Tom Doak in 2008
Cost: Private
Phone Number: (406) 846-3474
Course Website: Official Website - Visit Rock Creek Cattle Company's official website by clicking on the link provided.
Directions: Get here! - 105 Pauly Dr., Deer Lodge, Montana 59722 – UNITED STATES
Photos: See additional photos of Rock Creek Cattle Company
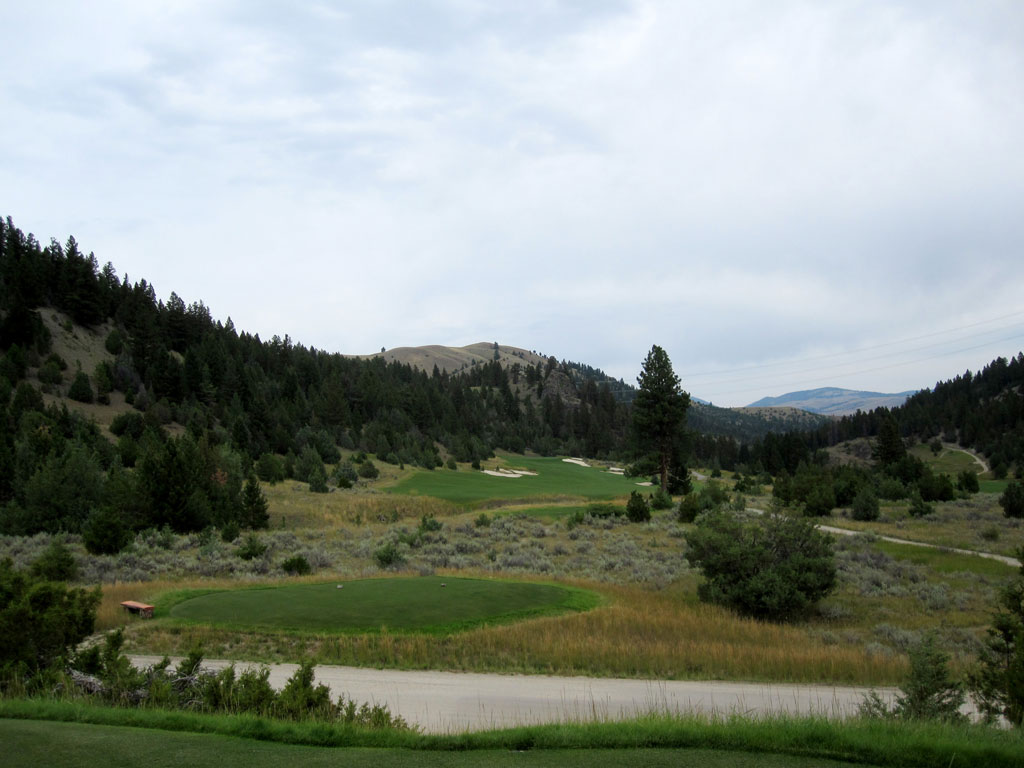
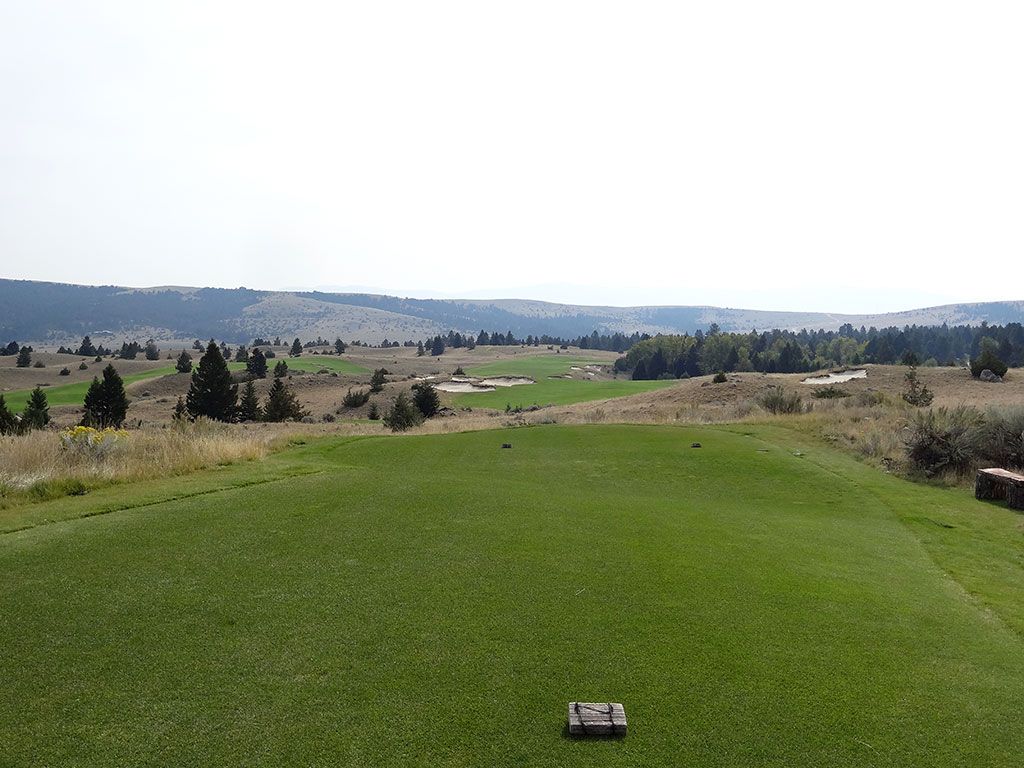
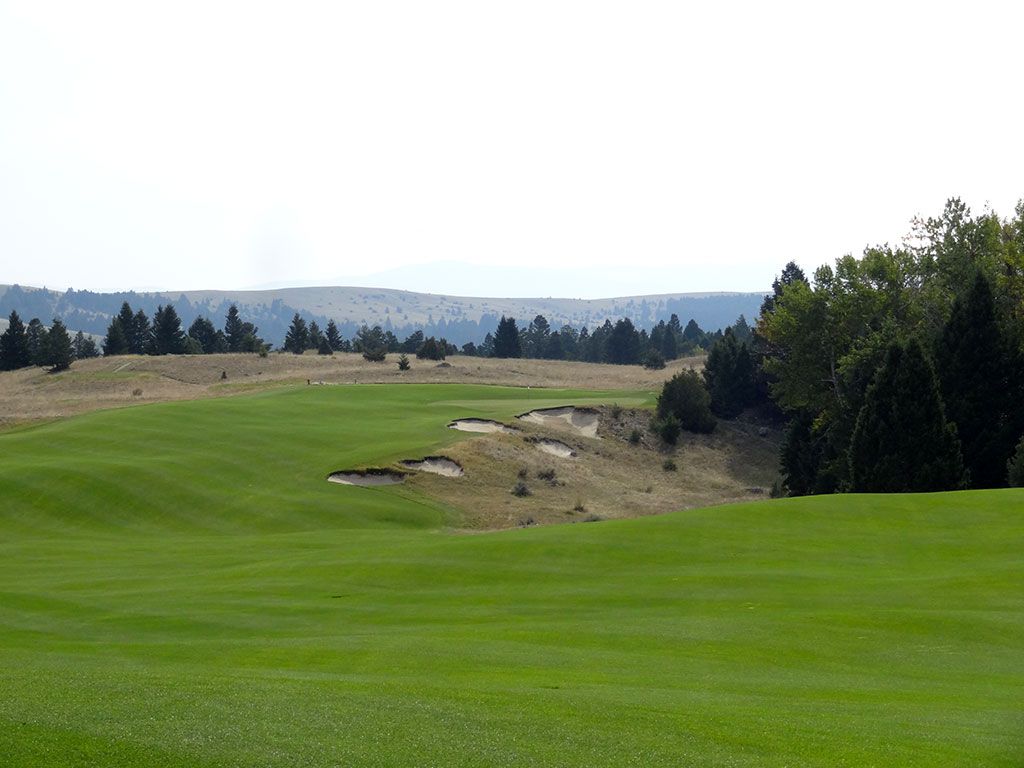
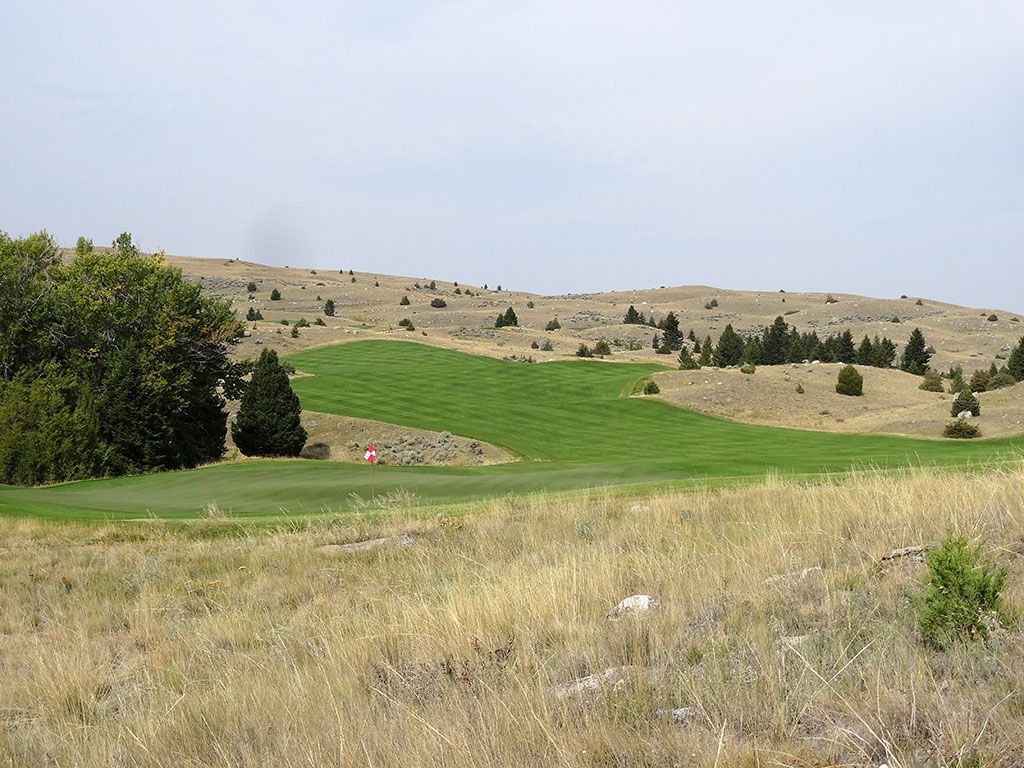
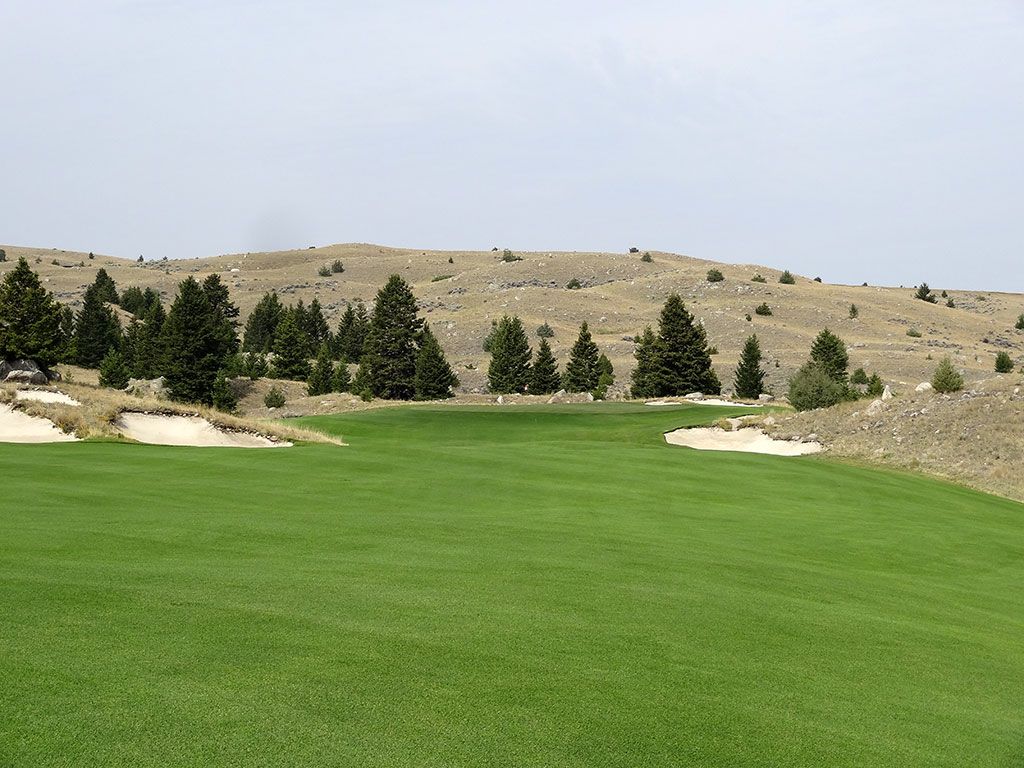
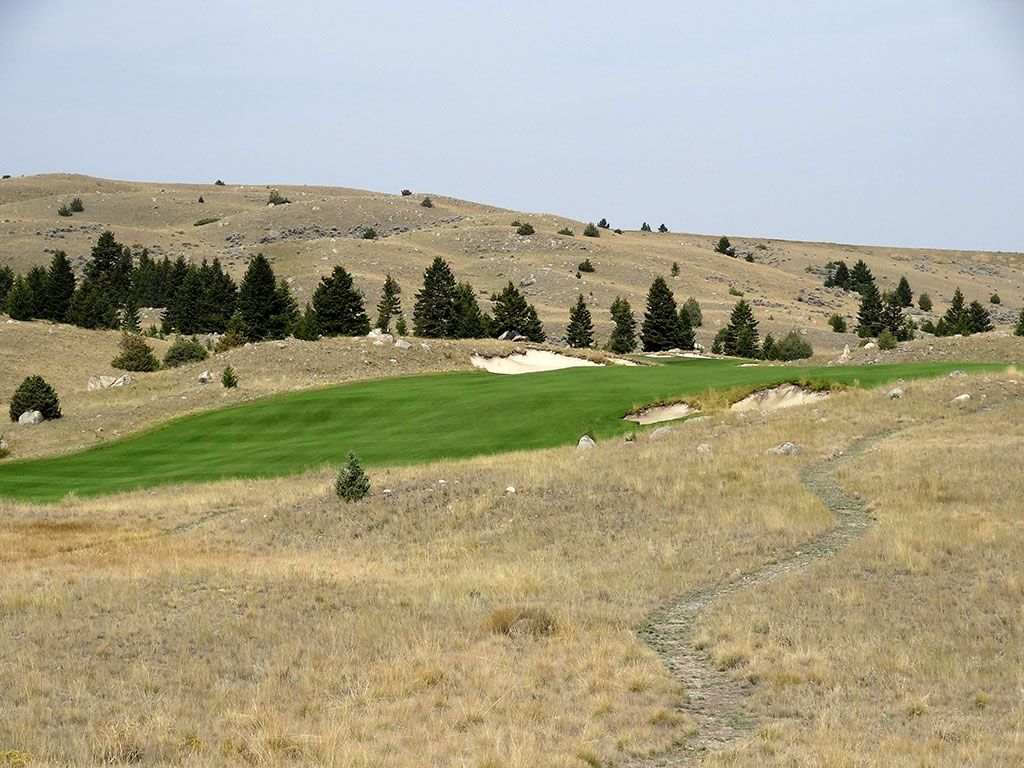
What to Expect: Rock Creek is a rare opportunity to play a minimalist course is a mountainous setting. The very hilly course tumbles across the Montana landscape in an effort to create drama while affording walkability to the golfer. Views are afforded in every direction here in Big Sky country where a course finally lived up to the lifestyle of Montana; big and bold. Typical of Doak courses, the fairways are wide and undulated while the greens feature contours that some may consider unfair when the stimpmeter is amped up. This larger than life course features back-to-back par threes, a 632 yard par five, a pair of one-shotters over water, and elevation changes that brings Doak's minimalistic approach to golf design up to a whole new level. When courses are not limited in their routing to returning to the clubhouse after nine holes it usually results in a far superior course design and experience; Rock Creek Cattle Company is yet another confirmation of that observation. In conclusion, Rock Creek is Doak's best work at a private facility to date and is an excellent combination of minimalist work on a more extreme terrain than usual.
By the Numbers
| Tees | Par | Yardage | Rating | Slope |
|---|---|---|---|---|
| I | 71 | 7466 | 74.9 | 137 |
| II | 71 | 6828 | 72.0 | 129 |
| III | 71 | 6294 | 69.1 | 123 |
| IV (Women) | 71 | 5445 | 70.1 | 123 |
Individual Hole Analysis
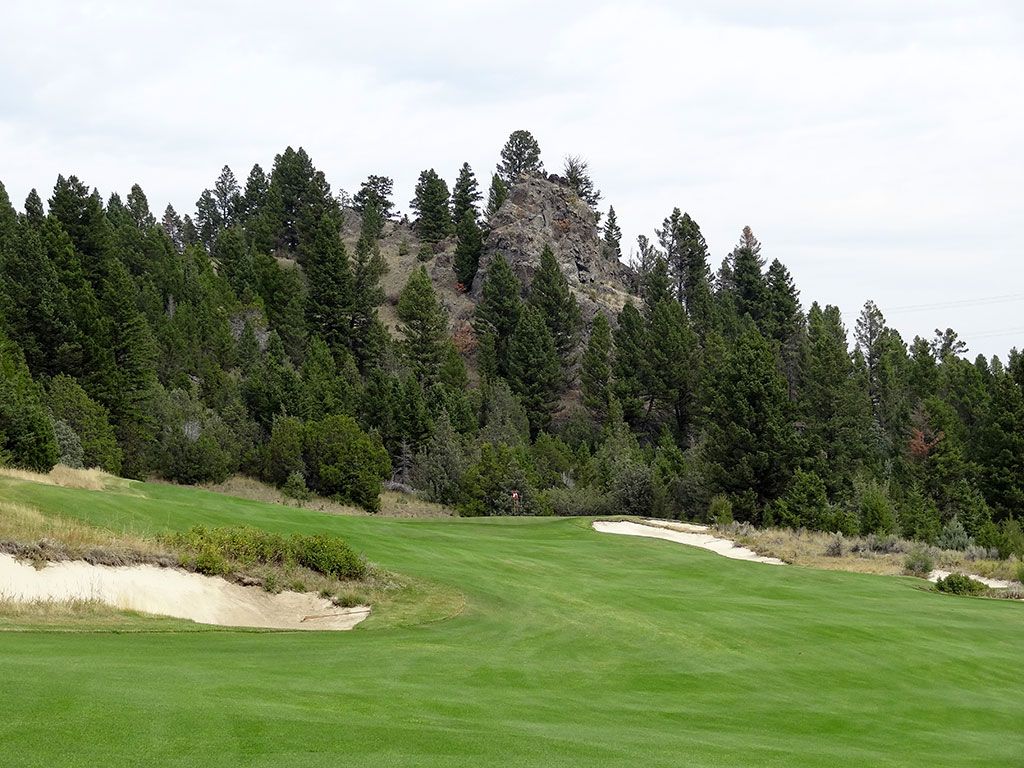
Signature Hole: 16th Hole – 467 Yard Par 4 – Rock Creek’s 16th hole features an iconic tree on the right side of the fairway while a bunker on the left side of the fairway acts as your target. The fairway slopes from left to right so tee shots hit towards the bunker will filter back to the middle of the short grass. Staying to the left continues to be the theme for the hole as shots hit that direction will avoid the bunkers and kick towards the undulated putting surface. With the large pine trees, mountain backdrop, and excellent architecture, the 16th hole at Rock Creek Cattle Company embraces everything the course is all about.
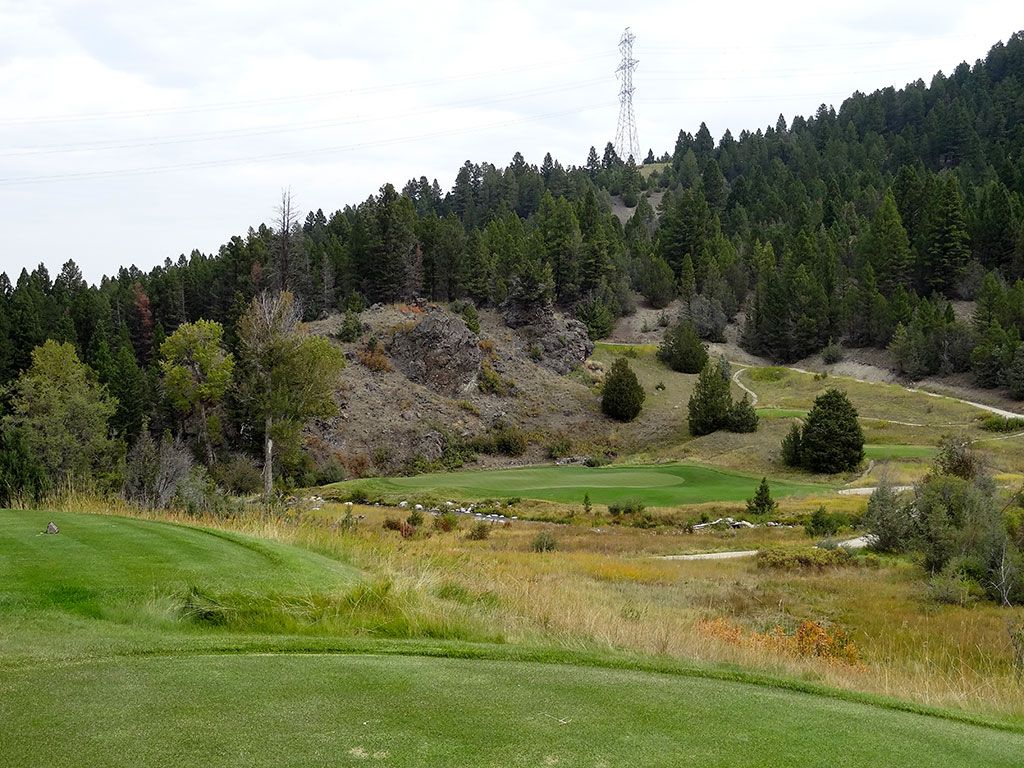
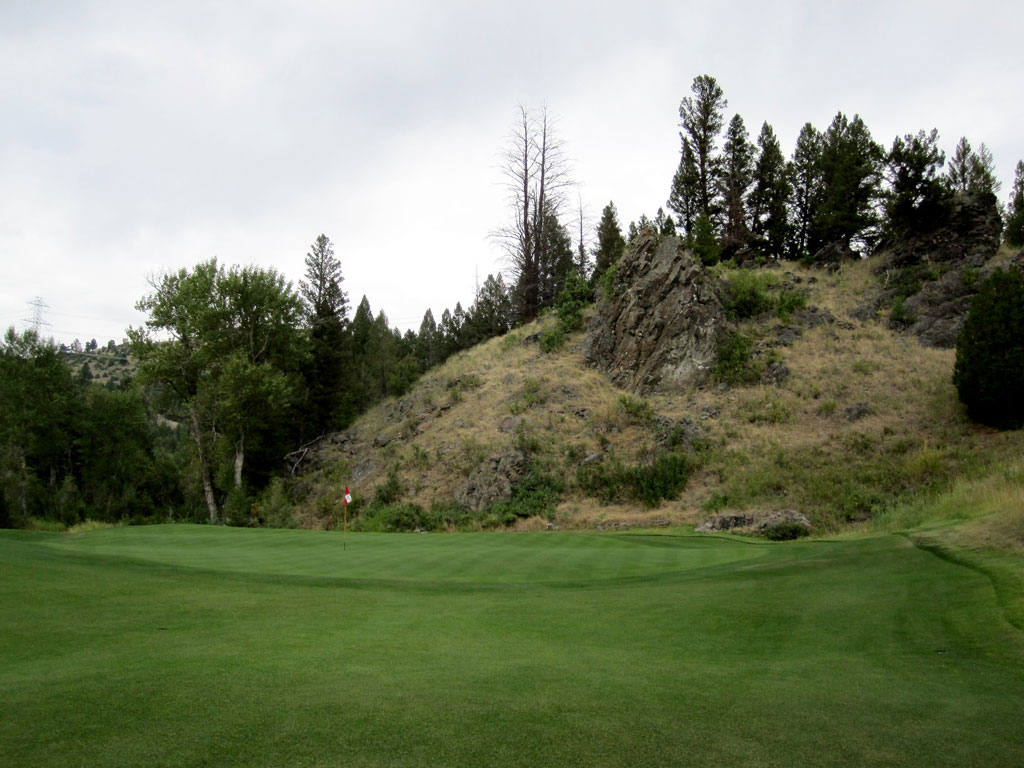
Best Par 3: 17th Hole – 191 Yards – The 8th and 17th hole are both impressive par threes that play over Rock Creek and are beautiful for different reasons. The focus of this section is on the 17th hole that features a tree covered mountain backdrop and the creek coming into play much closer to the putting surface than Tom Doak generally employs with a water hazard on a par three. A small bailout area exists to the right of the green that angles slightly away from the golfer as it follows the meandering creek. There is no ground game that can be played on this hole, it is an aerial drop shot with a beautiful background.
Best Par 4: 7th Hole – 486 Yards – Few holes can be this good without a single bunker or hazard. A mostly buried rock in the middle of the fairway acts as an aiming tool for this hole that disappears from the golfers view at the tee box. A solid drive will carry the native grasses and catch the downhill sloping fairway to setup the approach shot. A small hill initially creeps in from the left and then another hill creeps in from the right as the fairway meanders its way back and forth to the putting surface. The green features a severe false front at the front right corner of the green and can quickly shove balls back towards a chipping area. The rest of the highly undulated green is no walk in the park and makes up for some difficulty that was left out by not having any bunkers or water on the hole. The way the hole unfolds shot by shot is one of the most impressive experiences I’ve had on a golf hole and is one reason this hole is so good.
Best Par 5: 10th Hole – 632 Yards – Tom Doak considers the 10th hole one of the best par 5s that he has ever designed, and I concur. Plenty beefy at over 600 yards, the 10th hole is featured at the highest point on the course and goes on a roller coaster ride as it works its way to the green. A well placed, low spinning drive can find the speed slot portion of the fairway and tumble to distances beyond normal reach. The hole features two fairways that are separated by a collection of bunkers and marks the point that the hole starts travelling uphill and moving to the right. The second fairway is framed by a forest of trees on the right along with a string of bunkers. Approach shots can be worked off the bank located left of the green and acts as a safety zone when attacking this green. Countless options exist on this diverse hole that fits perfectly in Big Sky country.
Birdie Time: 15th Hole – 352 Yard Par 4 – Doak is famous for designing ½ par holes, and the short 15th hole fits into that category. The hole measures 352 yards from the tips, but plays downhill at high elevation which works together to make it possible to reach the green with a big tee shot. A collection of bunkers are featured in front of the green, but two clear paths of short grass lead up to the putting surface as well. A penetrating drive up the left side will utilize the fairway contours to generate some extra roll and feed towards the green. The other option to reach the green is a straight line at the right half of the green that splits the bunkers. The stars temporarily aligned for me the day I played as I was able to give myself an eagle putt after my drive found the back half of the green.
Bogey Beware: 11th Hole – 439 Yard Par 4 – The classic “bogey beware” hole is one that features plenty of length as well as trouble off the tee and at the green. Rock Creek’s 11th embraces these elements and features a challenging tee shot with a steep fall off to the left. The left fairway fall off actually filters into the joining 10th fairway and creates a blind approach to the green. The right side of the hole offers a limited view of the fairway and requires a longer carry to clear the native grass before being faced with a potentially semi-blind approach shot. Even with a perfect tee shot, the golfer is faced with an approach shot to a challenging crowned green that repels more shots then it accepts. Not the longest par four on the course, but certainly the most challenging.


